 | ||
Introduction
SCView provides a robust platform to access, view, edit, and manage scanned documents and structured data securely. Incorporating various functionalities such as searching, viewing, redacting, and printing documents, SCView integrates all these features into a unified system, enhancing the user's ability to handle documents efficiently.
A. Problem Statement
Users need to navigate various functionalities within SCView effectively but may encounter challenges due to a lack of familiarity with the system's capabilities or due to issues related to permissions and accessibility of the required tools. These challenges can hinder the productivity of users, especially when managing sensitive or urgent document-related tasks.
B. Solution
SCView provides unbiased, secure information access for all documents and structured data stored in file systems, intranets, enterprise applications, databases, and web sites. Revolutionizing your approach to search by incorporating all of your sources into one federated search platform. In addition, SCView will provide end users with the ability to retrieve, view, edit and print scanned/indexed documents. Our interface allows users to intuitively search all of your
scanned documents through a single user interface.
Log-in Screen
When a user needs to retrieve information they must first log into our system (for security reasons). The login information used will define the rights of the user (all permissions are user-based for added security). Records are located at the following web address: www.myscview.com

After logging into SCView
Once a user has successfully signed into the system, SCView will usually direct to a Home Screen, by default this is normally the Dashboard page. This Dashboard page will list all modules a user has access to via widgets on a main page. Other modules may display info such as My Forms, Calendar, Workflow Summary and Time Clock. What is displayed on this page depends on what module access a user has access to and the districts used modules.

Some users are given a Home screen of Search instead of Dashboard.

Note: A users default Home Screen can be set via your Admin.
Searching for documents using SCView
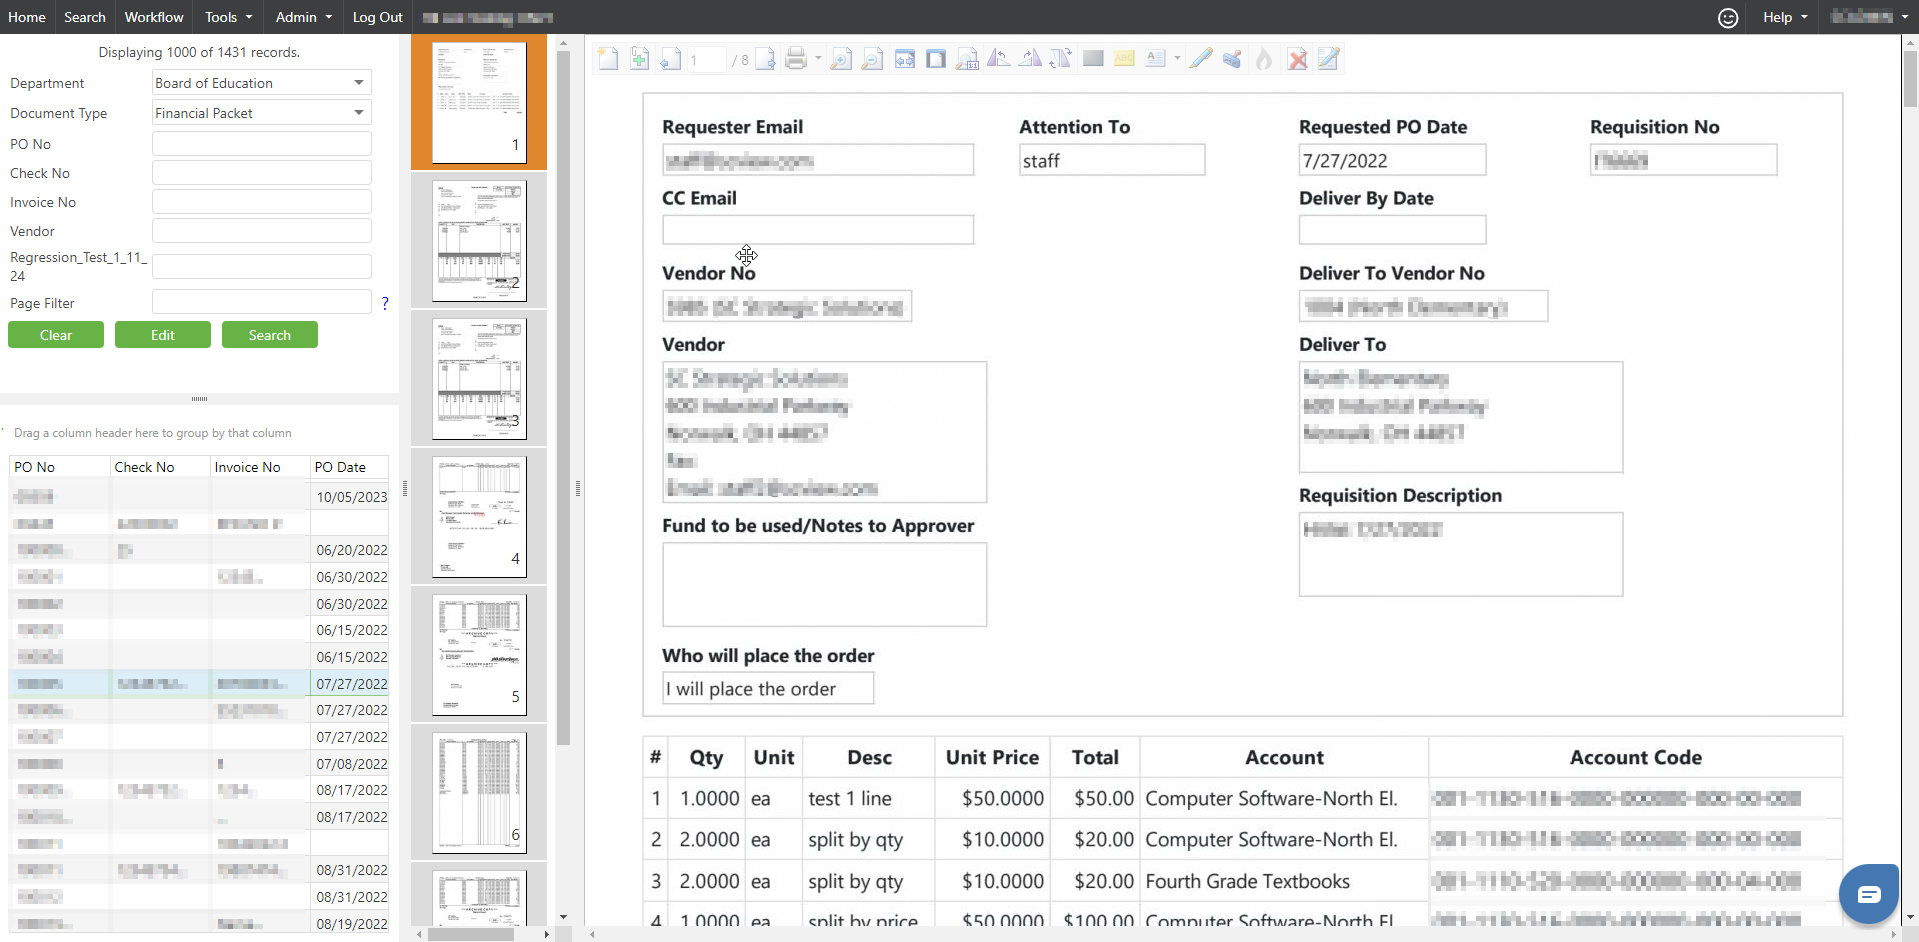
Once a user has successfully signed into the system, SCView will allow them to select from a list of available document types based on that user’s application rights. Once a document is selected the appropriate search criteria will automatically display (for example, Board Minutes may be searched by date of meeting, where Personnel Files may be searched by a full or partial first or last name and possibly a date of birth).


Note: The type of documents and departments available to be picked from the dropdowns
depends of access permissions. If a specific department or document type is missing
that you require, reach out to your local Admin to seek permission.
Searching & Viewing a Record
To access Search, the bar at the top of the page will list search.

Note: If Search is not visible, reach out to an Admin for assistance.
A search can be executed by utilizing full or partial information. For example, if a user wanted to find Henry Bosen, they could type in the full name in the search criteria or simply “Henry” or “H” in the first name box and “B” in the last name search. Ultimately, the more information that is entered into the search boxes, the fewer lines of data a user will have to search through to find the desired information. Once the desired information is found a user must simply double-click on it to display the image(s). In order to search again, click the “Clear” button and type in the new search criteria.

If a document has many pages SCView can display a thumbnail view for expedited searches within a document. Simply scroll down thru the pages until the desired page is found.
Redacting a Record
Also, if users are granted rights to annotate, they can email or print documents and hide sensitive information) such as a social security number or credit card information) with redaction or other annotations. In order to redact, simply click on the button that displays a black box at the top of the screen. After clicking the redaction button, the user can click and drag the cursor in order to create a black box over the image. The box can be resized to fit any information on the image.


Printing a Record
Users, if granted the correct permissions, can print a record from the system when necessary. When a record is open that the user wishes to print, simply click the printer button that is immediately above the displayed image. A print setup dialog will display:
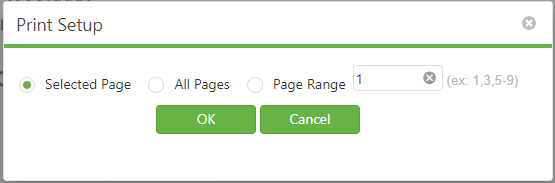
From here, the user can decide whether to open the current page, all pages, or a range of pages as a PDF. Once the user selects “Open”, a PDF will display of the chosen file. From here, the user can print, E-mail, or save the file.

Button Commands (from left to right)

-Create New Doc
-Append Pages
-Previous Page Button
-Next Page Button
-PDF/Printer Button – This will create a PDF of the record so that it may be Printed, Saved, or E-mailed.
-The magnifying glass with the “+” symbol will zoom in on the image.
-The magnifying glass with the “-“ symbol will zoom out on the image.
-The button with arrows pointing to the left and to the right will fit the image to the width of your screen.
-The button with the piece of paper on it will fit the image to the height of the screen.
-The displayed page with a dog ear surrounded in blue will zoom the image to full size.
-The arrow rotating counterclockwise will rotate the image counterclockwise 90 degrees.
-The arrow rotating clockwise will rotate the image clockwise 90 degrees.
-The button with two arrows going opposite directions will flip the image 180 degrees.
-The arrow pointing to the left “<” will take the user to the previous page within a document.
The items below may or not be available depending on user permissions:
-The button with the black box will allow the user to redact information within an image.
-The yellow button will allow the user to highlight information within an image.
-The button with the letter “A” in it will allow the user to create a text note on an image.
-The button with the pen will allow the user to use free-hand annotations on an image.
-The last button (with the “X”) will allow the user to delete a redaction or annotation on an image.
Editing Indexes for a Document
In the event that indexed data needs to be updated, a user (with the appropriate permission rights) simply needs to click on the edit button and review the current indexes and make changes where appropriate. All of the original indexes will be displayed and can be updated from this window.

Once the user has made any necessary changes or added any notes to the record, simply clicking “Update” will replace the old index with the new index information for future use.

Need help?
Simply scroll to the bottom right corner of any page on SCView and click the small blue chat bubble. This will allow any user to chat with SC Strategic Solutions Support staff anytime from 8:00 AM to 4:00 PM EST


Alternatively, click on the Help button on the top right, then click on Get Help.

Options for Chatting in, Calling, and submitting a ticket are shown on the page above.
C. Best Practices
- Regular Training: Regularly train and update users on the functionalities available in SCView to ensure they are utilized to their full potential.
- Monitor Permissions: Continuously review and adjust user permissions to align with job requirements and security policies, ensuring that each user has appropriate access to the necessary tools.
- Utilize Support Resources: Encourage the use of built-in support tools and resources like the chat feature and help guides to resolve issues and improve user understanding of the system.
- Systematic Document Handling: Follow structured processes for searching, editing, and printing documents to maintain consistency and accuracy in document management.
D. Troubleshooting
- Access Issues: If a user cannot see expected modules or documents, verify their access permissions and ensure they are logged into the correct user account.
- Functionality Errors: For issues with document searches or viewing, check network connections, browser compatibility, and system updates. Restarting the session can also resolve temporary glitches.
- Printing and Redacting Problems: Ensure the printer settings and software are correctly configured. For redaction issues, confirm that the user has the necessary permissions and that the document is compatible with redaction functions.
E. Related Articles
Conclusion
SCView offers a powerful platform for managing documents and structured data with advanced search, edit, and security features. By leveraging these tools effectively and adhering to best practices, users can enhance their productivity and ensure secure and efficient document management. When faced with challenges, utilizing available troubleshooting strategies and support options will allow users to resolve issues promptly and maintain smooth operational flows within SCView.