
 | ||
Introduction
Recalling is the act of removing a document from a workflow queue. This effectively aborts the approval process for that item. This guide walks through the process of recalling a Leave Request using My SCView's Leave Manager interface.
A. Problem Statement
Leave Requests sometimes need to be pulled back from the approval workflow before they're fully processed. This might happen when an employee realizes they selected the wrong dates, needs to update request details, or simply needs to cancel their time off. Without a clear understanding of how to recall these requests, managers and administrators may struggle to remove items from the workflow queue efficiently, potentially causing confusion in the approval chain.
B. Solution
To follow along with this guide, please use the main navigation bar to navigate to Tools > Leave Requests.
Step 1: Locate the Leave Request to be Recalled
Before a Leave Request can be recalled, it must be found in the grid. Refer to Article: Leave: Leave Manager Guide for how to use filters and sorts to isolate your target Leave Request. Once it is found, proceed to Step 2, where the recall itself will be performed.
Step 2: Recall the Leave Request
Now that the Leave Request that needs to be recalled has been located, there are two pathways that can be used to perform the recall. In both cases, the user requires appropriate permissions to do so. If unable to perform a recall that you believe you should be able to do, refer to your organization's Administrator.
Method 1 - Manager Button
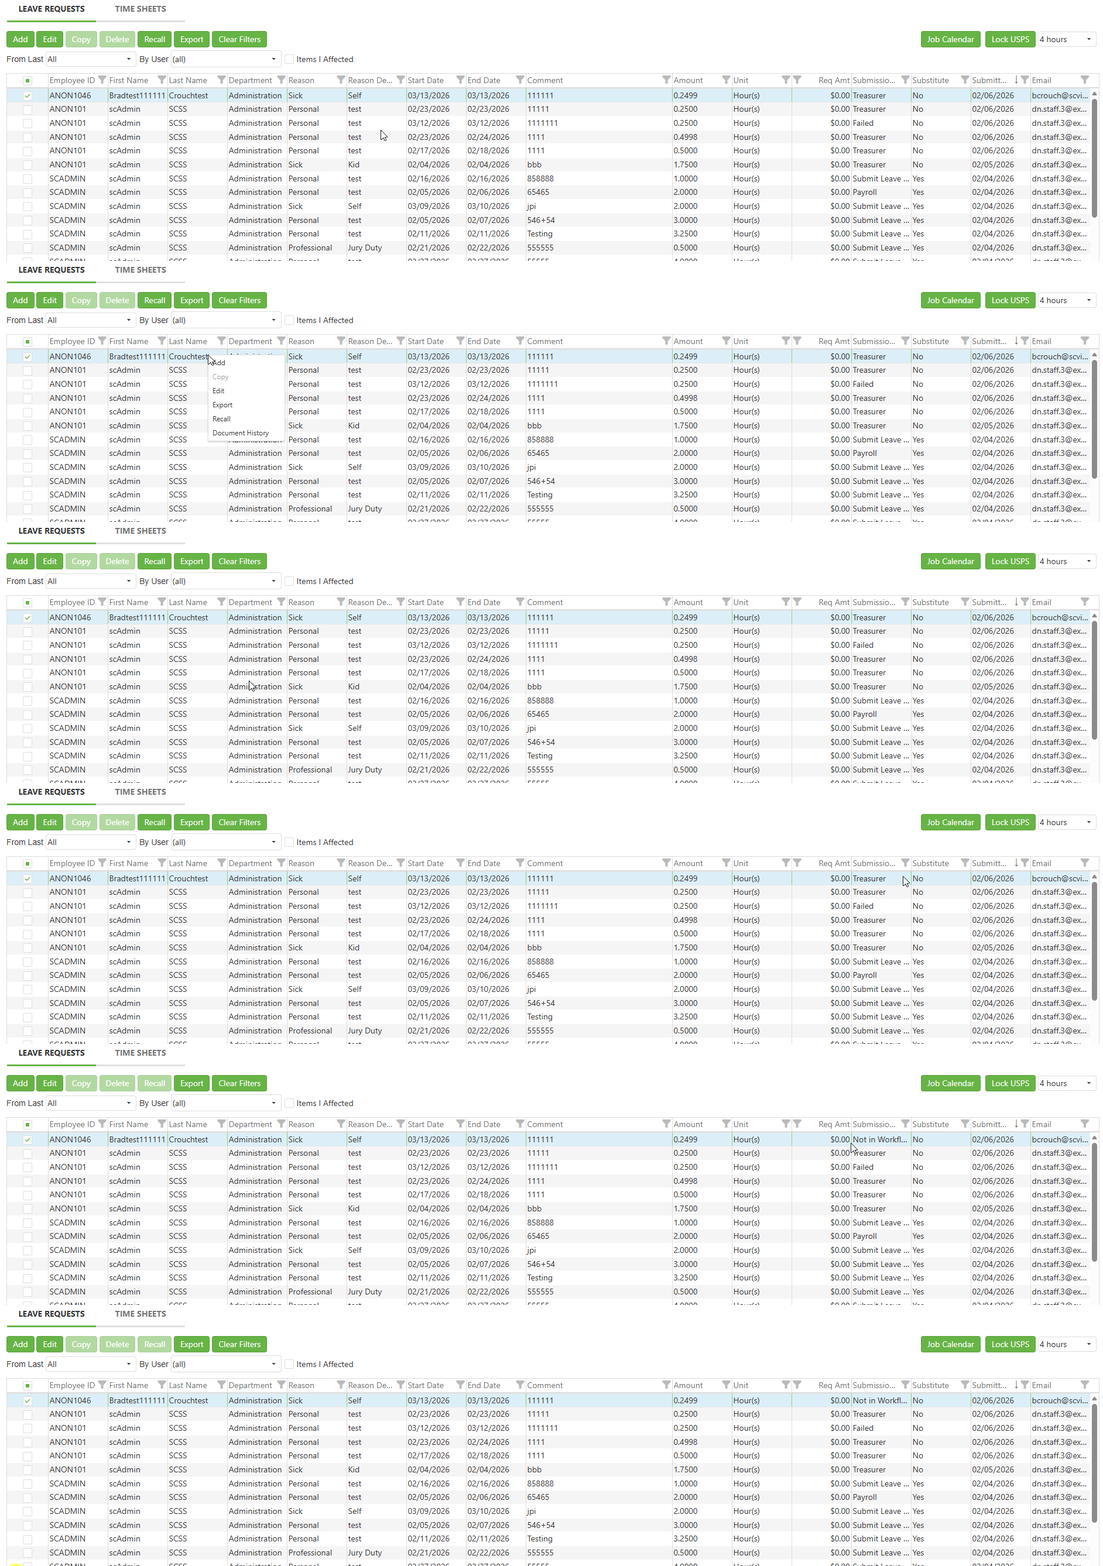
In this method, select the Leave Request to be recalled, then click the green "Recall" button located just above the Leave Manager grid. Note that the Leave Request's Submission Status in the grid changes to "Not in Workflow".
Video: Manager Button Method Recall
Method 2 - Context Menu
In this method, right-click the Leave Request to be recalled, then click the "Recall" option in the resulting context menu. Like the first method, the Leave Request's Submission Status in the grid changes to "Not in Workflow".
Video: Context Menu Method Recall
C. Best Practices
- Verify before recalling - Double-check the Leave Request details before performing a recall to ensure you're removing the correct request from the workflow queue.
- Make corrections before resubmitting - After recalling a Leave Request, ensure all necessary changes are made before resubmitting it to the workflow to avoid multiple recall cycles.
- Use filters to locate requests quickly - Rather than scrolling through the entire grid, leverage the filtering and sorting capabilities in the Leave Manager to find requests that need to be recalled efficiently.
- Check Submission Status - Before attempting a recall, verify that the Leave Request shows a Submission Status indicating it's currently in workflow. Requests with "Not in Workflow" status don't need to be recalled.
D. Troubleshooting
- If a Leave Request cannot be recalled, doublecheck that it is in a Workflow queue. Requests that are not in a Workflow queue cannot be recalled, as nothing would happen.
- If a Leave Request that is in a Workflow queue cannot be recalled, double-check your permissions.
E. Related Articles
Conclusion
Recalling a Leave Request is straightforward once you know where to look. Remember that recalls require appropriate permissions and only work on requests currently in a workflow queue. If you run into issues, verify the request's submission status and check with your Administrator about your recall permissions.