 | ||
Introduction
Clients have frequently requested the ability to have multiple signatures or annotations linked solely to their accounts. This will replace the old method, where clients were limited to a single signature. Moving forward, clients will be able to have more than one option. Previously, they could only have one signature, which often led treasurers to create multiple accounts to accommodate their needs. This new method will allow clients to add a logo, signature, "then and now" stamp, or any other item they feel would benefit them when reviewing forms
A. Problem statement
Administrators may encounter difficulties when attempting to add, modify, or delete signatures and annotations to user profiles on a content management system (CMS). This process involves navigating the Admin panel, understanding permissions, editing user details, and managing options like Permanent imprinting and Paired Items. Users unfamiliar with the interface or the process might struggle to efficiently utilize these features.
B. Solution
To effectively manage and streamline the process of adding, editing, or deleting signatures and annotations in user profiles, the CMS should incorporate an intuitive interface under Admin > Users, complete with clear instructions. This interface should spell out options for uploading images, setting descriptions, and saving changes to ensure smooth operation. Additionally, having step-by-step tutorial videos and troubleshooting guides integrated into the platform can enhance user comprehension and facilitate easier management of these features.
Create New
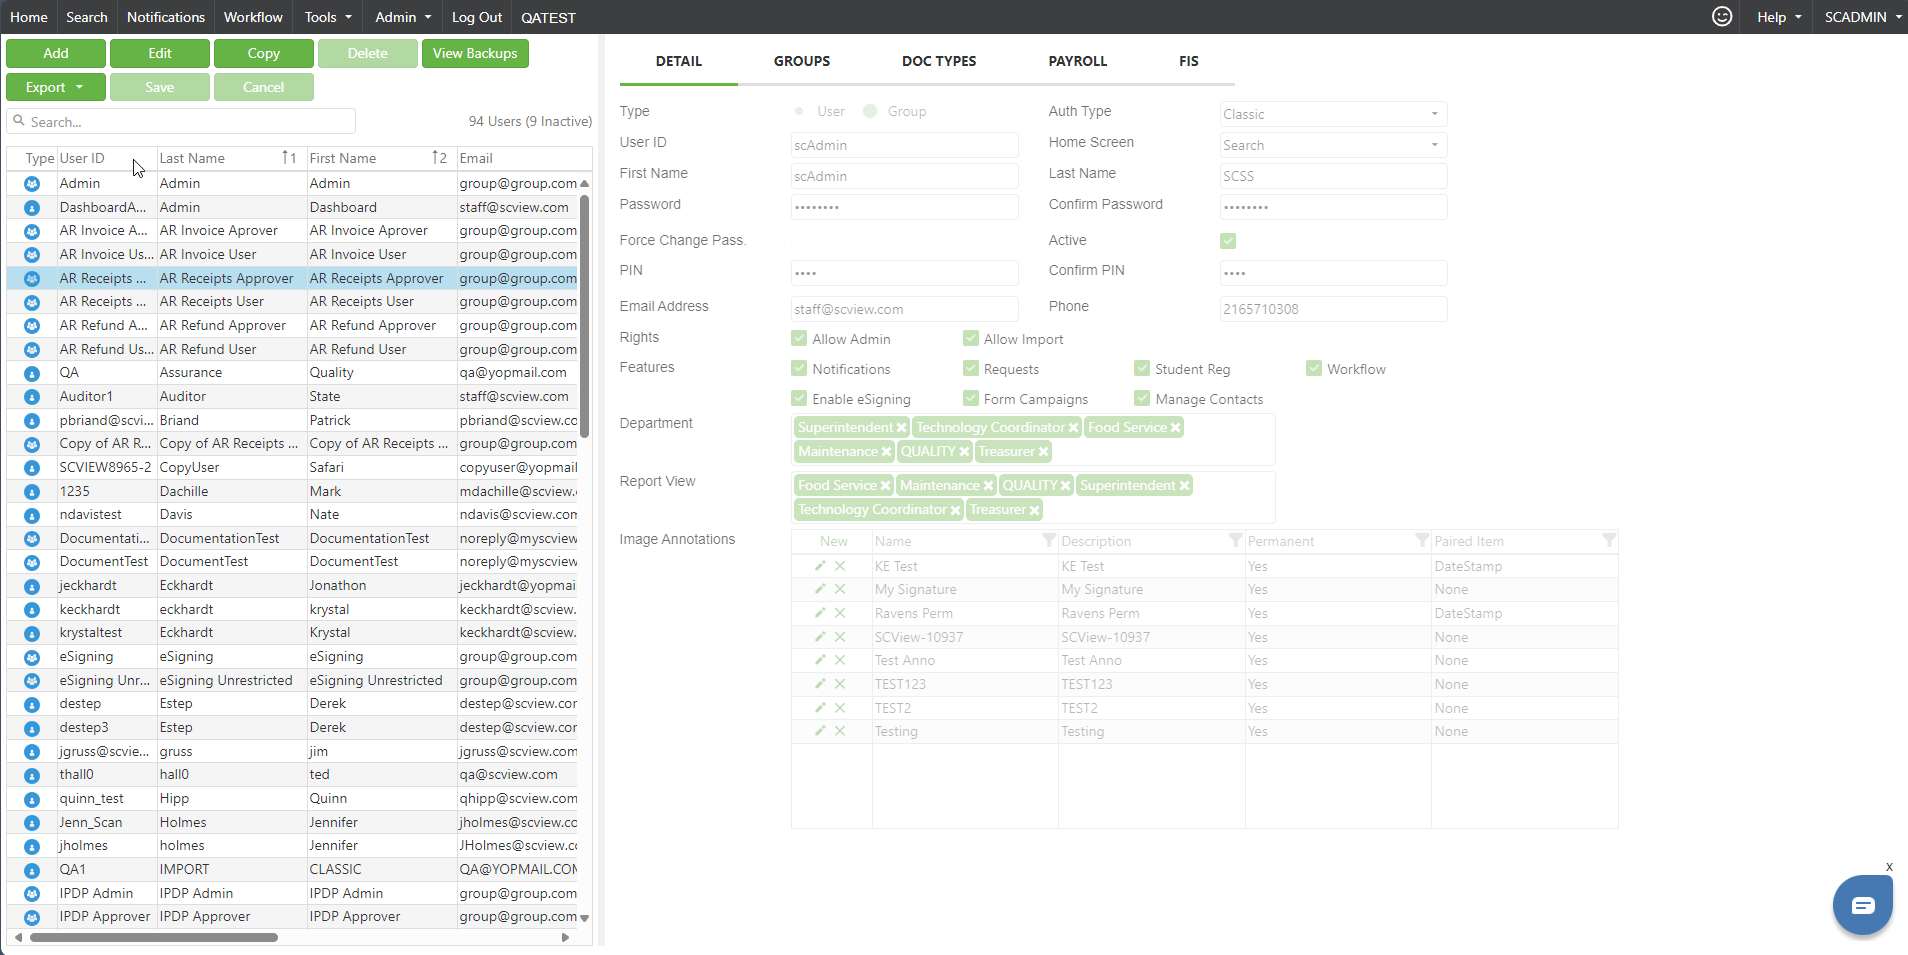
This feature is located under Admin > Users.
To view users you must be an admin of the site. If you do not have admin permissions, please reach out to a current admin.
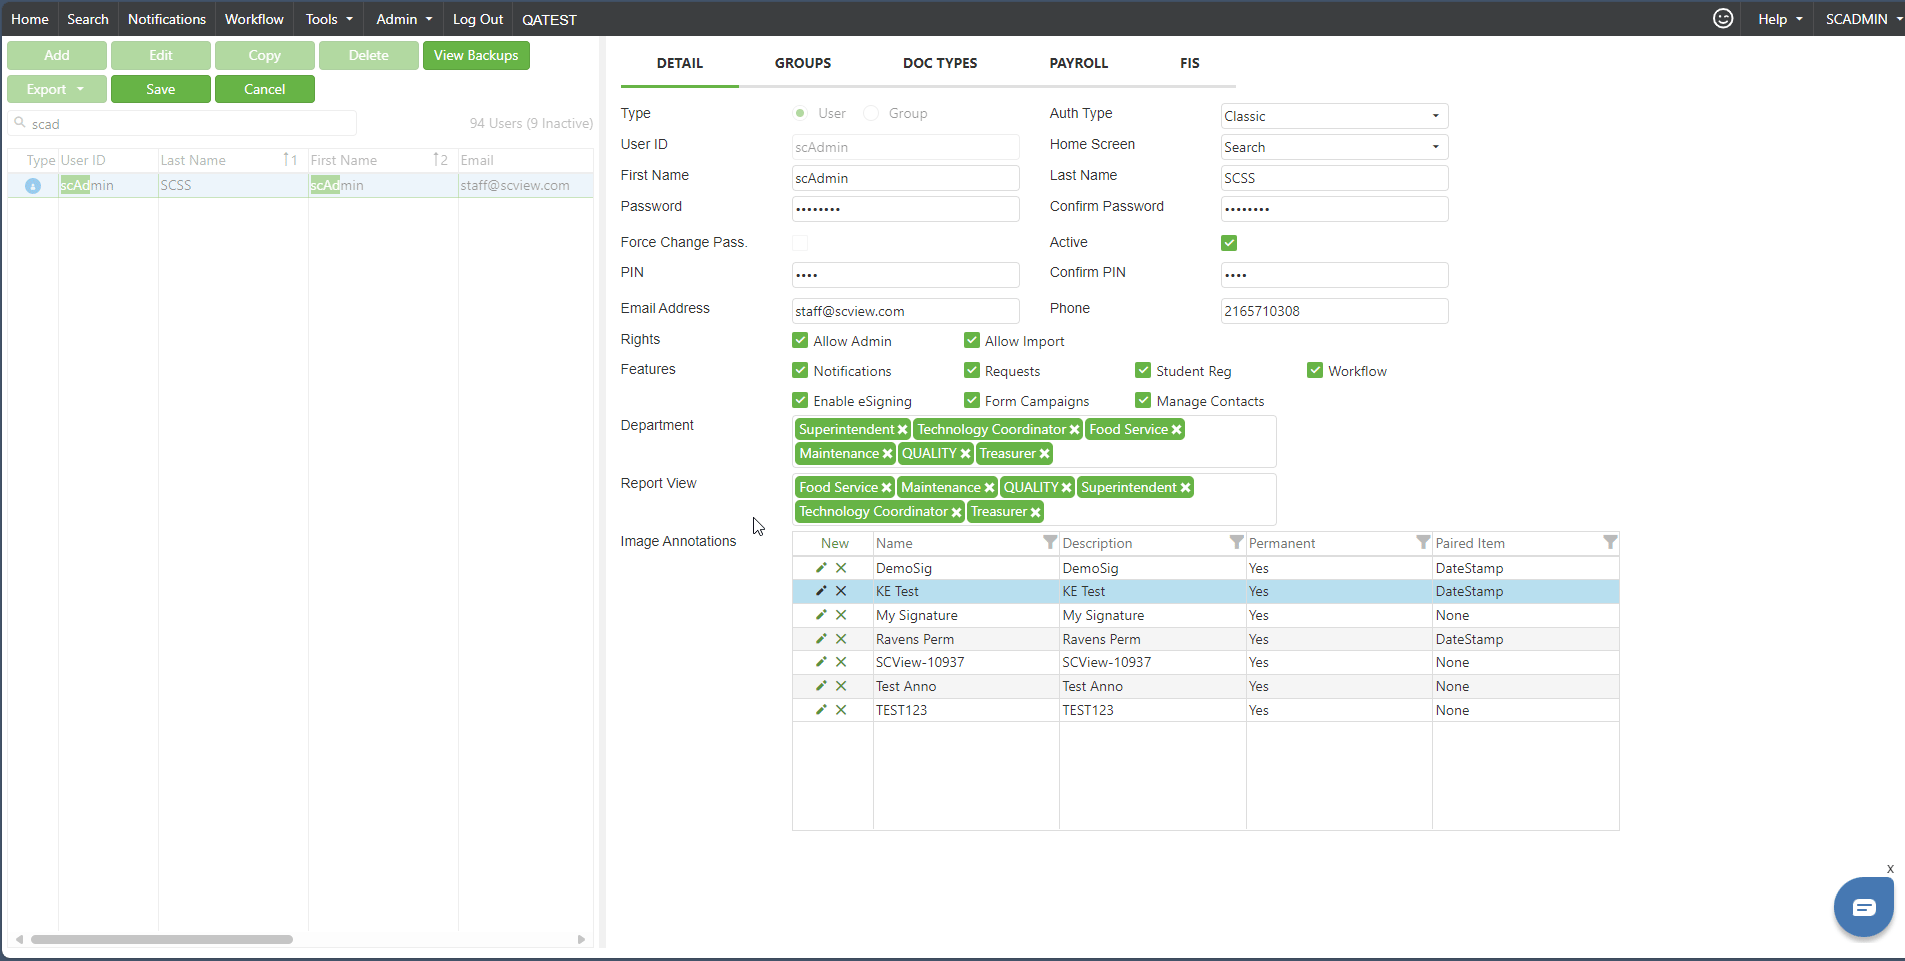
- Locate the user you wish to add a signature/annotation to and click on edit, to allow editing of their user profile.
- Image Annotation is located on the details tab of the user profile, this is the default tab on the users profile when editing.
- Clicking New under the Image Annotation section will provide a pop up box in order to create a new signature/annotation.
- Choosing a Name is how your signatures/annotations will differentiate from one another when selecting one to be placed on a document. Filling this out is a requirement.
- The Description field is for you to differentiate between your signatures in the Image Annotation box on your profile. This will auto-fill based on the name, but can be changed to fit your specific needs. Filling this out is a requirement.
- Permanent check box will allow for the signature/annotation to be burned into the document.
- Paired Item will allow for a date field to be placed with the signature/annotation when added to a document.
- Upload Image will open your file explorer on your computer in order to select the file to be used for your signature/annotation.
- Once you have everything completed you can click on the Save button and it will save your signature/annotation to your Image Annotation box.
- Clicking Cancel will close out of the pop up box and will not add anything to your Image Annotation list.
- Since the user profile is in Edit, you must click on user profile Save button in order to save the signature/annotation to the profile.

Edit Signature/Annotation
- Pencil Icon will open the signature/annotation pop up box in order to edit.
- Editing works the same as when creating a New signature/annotation, with the exception you are unable to change the original image. All other fields are editable.
- Once you have completed your changes click on the Save button and it will save your changes to the Image Annotation box.
- Clicking Cancel will close out of the pop up box and your edits will be discarded.
- Since the user profile is in Edit, you must click on user profile Save button in order to save the signature/annotation to the profile.

Deleting a Signature/Annotation
- In order to Delete, click on the X next to the signature/annotation you wish to remove.
- A Confirm Delete pop up will display asking, "Are you sure you wish to delete the 'NameOfSig' image annotation?
- Clicking Yes will delete the annotation from the Image Annotation list. However, since the user profile is in Edit, you must click on user profile Save button in order to save the signature/annotation to the profile.
- Clicking No will close the pop up and the signature/annotation will remain.
How to Video

C. Best Practices
- Consistent Naming Conventions: Use clear and distinct names for each signature and annotation to prevent confusion and allow for easier future reference.
- Validate Changes: Always confirm changes by saving the user profile after making adjustments to signatures and annotations to prevent data loss.
D. Troubleshooting
- Check User Permissions: Verify that you have admin rights; if not, contact an existing admin for assistance.
- Refer to Help Resources: Utilize available how-to videos and FAQs related to the Image Annotation feature.
- Contact Support: If problems persist, contact technical support for resolution or guidance on specific issues.
E. Related articles
Search - Adding an Signature/Annotations to Documents
Conclusion
Managing signatures and annotations within a CMS requires administrators to navigate several layers of user settings and configurations. By following best practices and utilizing support tools like instructional videos and help documents, admins can effectively handle and troubleshoot common issues associated with this feature. This ensures that signatures and annotations are properly managed, enhancing the utility and security of the document management process in the CMS.
