 | ||
Introduction
The eSigning module within SCView offers a robust and user-friendly platform for sending documents to one or several users for digital signatures. This feature can be accessed from various entry points, including Tools, Search, and Workflow, offering flexibility and integration with other system functionalities.
A. Problem Statement
Users may encounter difficulties understanding the process of creating and managing eSign requests, particularly regarding setting up documents for signatures, adding signers, or customizing fields within the document. Furthermore, new users might be unfamiliar with the module's availability or setup procedures.
B. Solution Statement
To effectively utilize the eSigning module, follow a structured process to create, customize, and manage eSign requests. The process involves preparing the document for signing, assigning signers, and controlling the document’s workflow after signing. For setup or access to this module, users should contact Support for assistance.
This module allows you to send a document to one or more users to have them digitally sign. There is the ability to do this from Tools, Search, and Workflow.
If you do not have this module and would like to get set up with it, please reach out to support@scview.com and they will reach out to your sales rep.
Go to Tools > eSigning.
Click New or the New Request button to create a new eSign request.

Select File to upload.
Enter who needs to sign.
If multiple signers are required, click Add Signer.
If you need to sign, click Add myself as a signer.
If the order of signers matters, check the "Enforce Signing Order" checkbox.
Click Next when all needed fields have been completed.

Using the fields on the left side, drag and drop them to desired positions.
Signature - Used for the person(s) to sign.
Initials - Used for the person(s) to place initials.
Date Signed - Used for the date the document is signed (auto filled).
Full Name - Used to provide the signee's full name (auto filled).
Email - Used to provide the signee's email address (auto filled).
Text Box - Used to allow signee to put a note on the document.
Text Area - Used to allow for a signee to free type, which also allows for text wrapping for longer text.
Check Box - Used to allow signee to put a check mark on the document.
If you wish to change the name of a field just created or make a field required or not, you can make the change on the right side of the page.
Click Next once all fields have been added.

Add a subject and comment. If the document needs a copy sent to someone other than the signee, click Add recipient. Once all needed fields are completed, click Send Request. The signee will receive their document to sign within approximately 15 minutes.

If you are one of the signers, on the confirmation of the eSign request being sent there is a button that will allow you to go to the document and sign it right then. If the "Enforce Signing Order Here you can also review the subject, comments, the signers added and additional recipients.

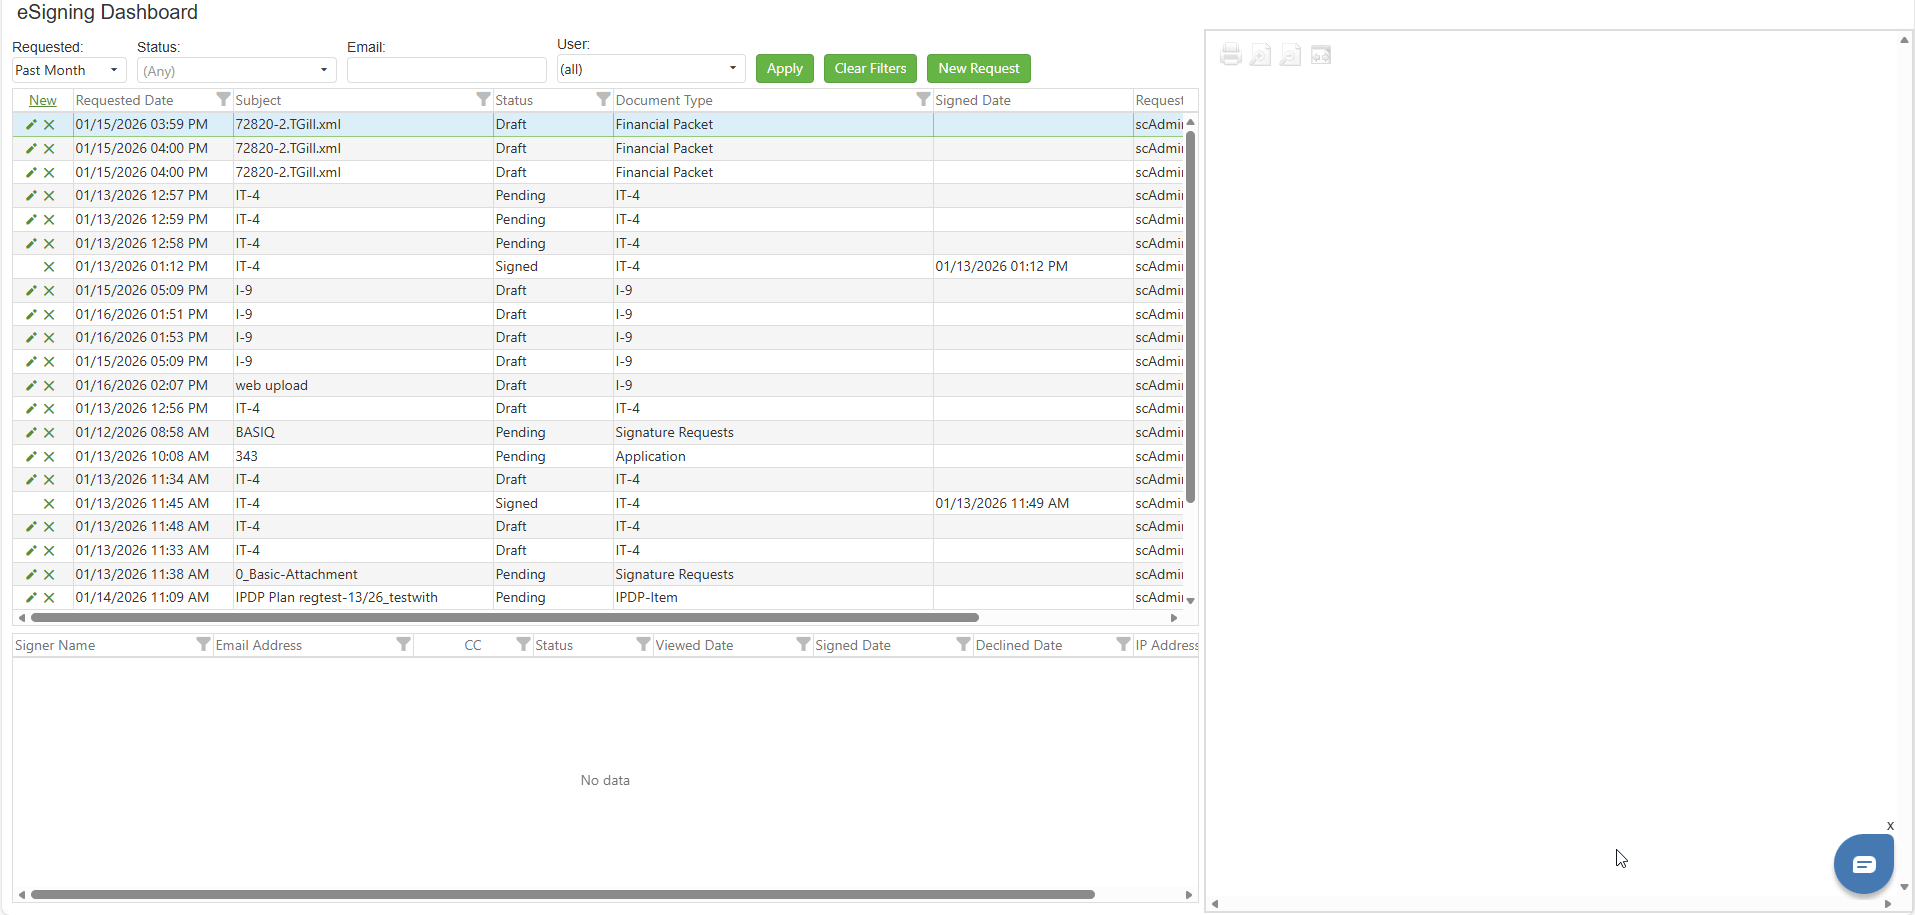
Dashboard
The Dashboard allows you to view the status of any eSigning requests that have been sent out. Once all required users have signed the document, the Status will change to Signed.
From the dashboard, you may also cancel or delete a request. To do this, right-click on the line corresponding to the eSigning Request that you wish to cancel and select the desired action from the context menu. Be sure to delete the eSigning Request if it is likely that the form in question will need printed in the future, as a Cancelled eSigning Request can interfere with batch printing.
Video: Cancelling/Deleting an Existing eSigning Request
Send From Custom Form
This can be done from Search or from Tools > My Forms.
NOTE: You must have access to search to use this method.
1. Create a new form and check Create eSign Request on Submit.

2. Once all fields on the form have been completed, click Submit.
This will bring you to the eSign module. Complete as needed and submit.

C. Best Practices
- Clear Instructions for Signers: When sending out documents for signing, clearly indicate where each signer should place their signature, initials, or additional text to avoid confusion and mistakes.
- Regular Updates from Dashboard: Frequently monitor the eSigning Dashboard to keep track of the status of sent documents and perform necessary actions such as cancelling or deleting requests as needed.
- Use of Drag-and-Drop Functionality: Utilize the drag-and-drop feature efficiently to customize where fields should be placed on the document for signing.
D. Troubleshooting
- Non-receipt of eSign Request by Signers: Check to ensure the correct email addresses have been entered and that spam filters are not blocking incoming emails from the system. Confirm that notifications are enabled for signees.
- Errors in Form Fields Placement: If the placed fields are not appearing correctly, return to the editing screen to adjust their positions or settings. Ensure all required fields are set accordingly before sending.
E. Related Articles
eSigning: View Audit of a Request
eSigning: Allow User to Self-Sign a Request
Conclusion
The SCView eSigning module is a powerful tool designed to streamline the document signing process by allowing digital signatures from appointed signers in a secure and efficient manner. By adhering to the outlined best practices and troubleshooting common issues as needed, users can optimize their document management processes and ensure effective, timely completions of eSigning requests. This capability not only enhances productivity but also supports a paperless, eco-friendly approach to document signing and approval workflows.